Please follow and like us:
 Greetings synth and audio folks!
Here’s a cool little technique I’ve worked out for winding my own toroidal custom audio inductors for applications such as formant filter banks or graphic equalizers.
I did these for my own clone of the Moog 914 fixed filter bank.
Materials Needed
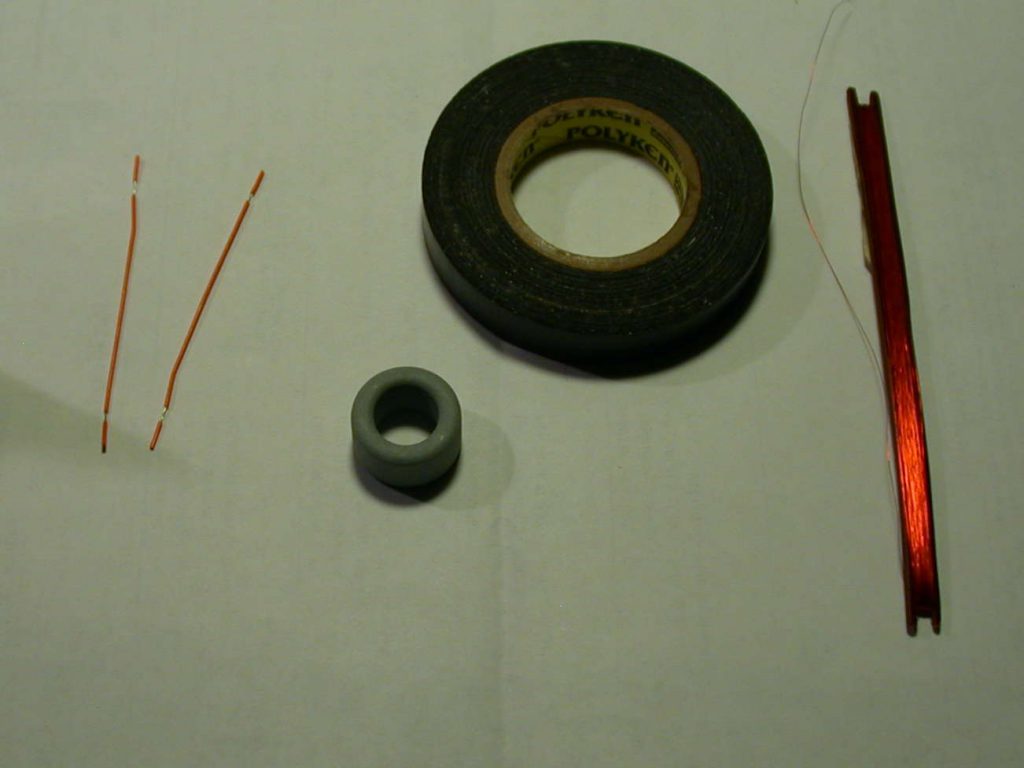
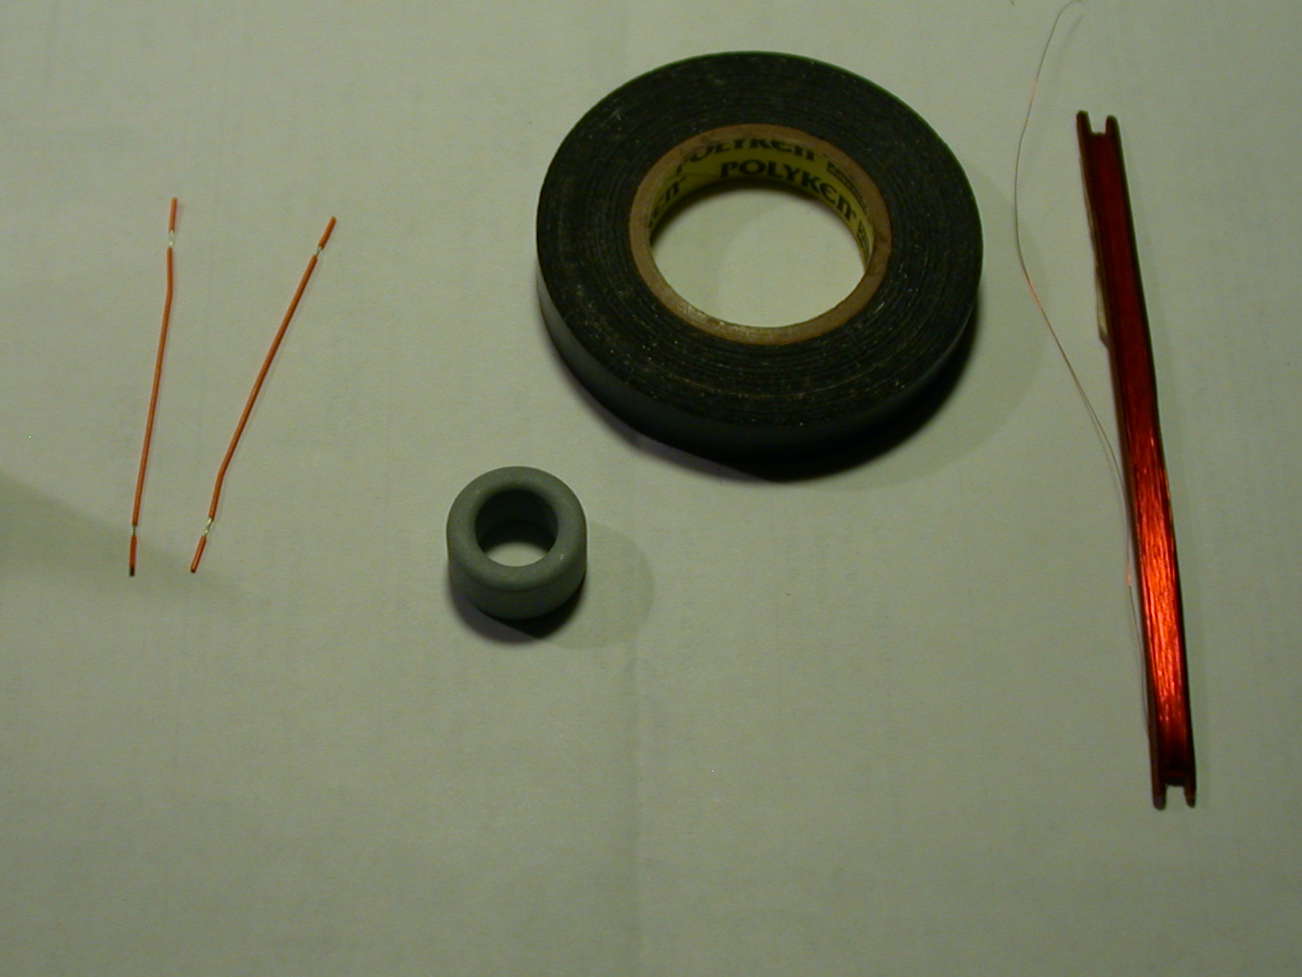
To get started, you’ll need the following:
- A suitable toroid core. The one I used here has an “AL” value of 6040. Basically, the higher this value, the fewer windings you will need to reach a desired inductance. Especially ones commonly used in audio frequencies.
- Enameled copper magnet wire. For audio inductors this should a fine gauge in the 30 to 40 range. The wire I used here is 36 AWG.
- Electrical tape. Ideally this should be the soft cloth type. However the standard PVC plastic kind will work fine.
- Large diameter heat shrinkable tubing. I bought mine from buyheatshrink.com.
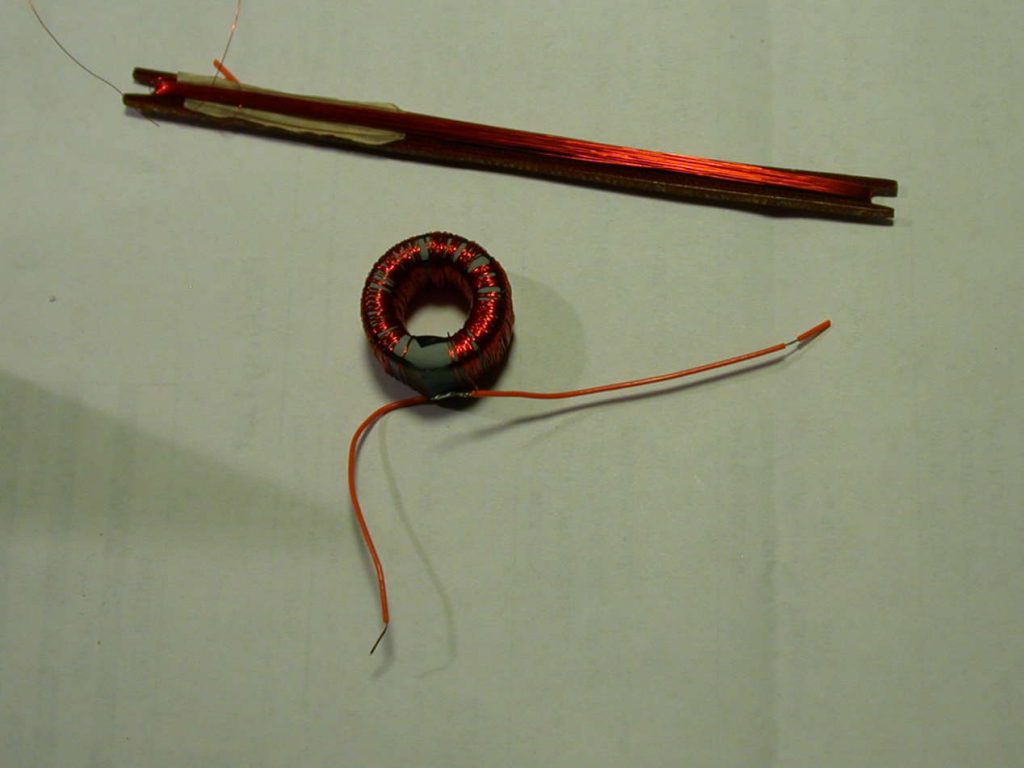
- A piece of stiff cardboard or plastic with notches at the ends. This will be a weaving “shuttle” for passing the wire through the toroid core.
The Steps
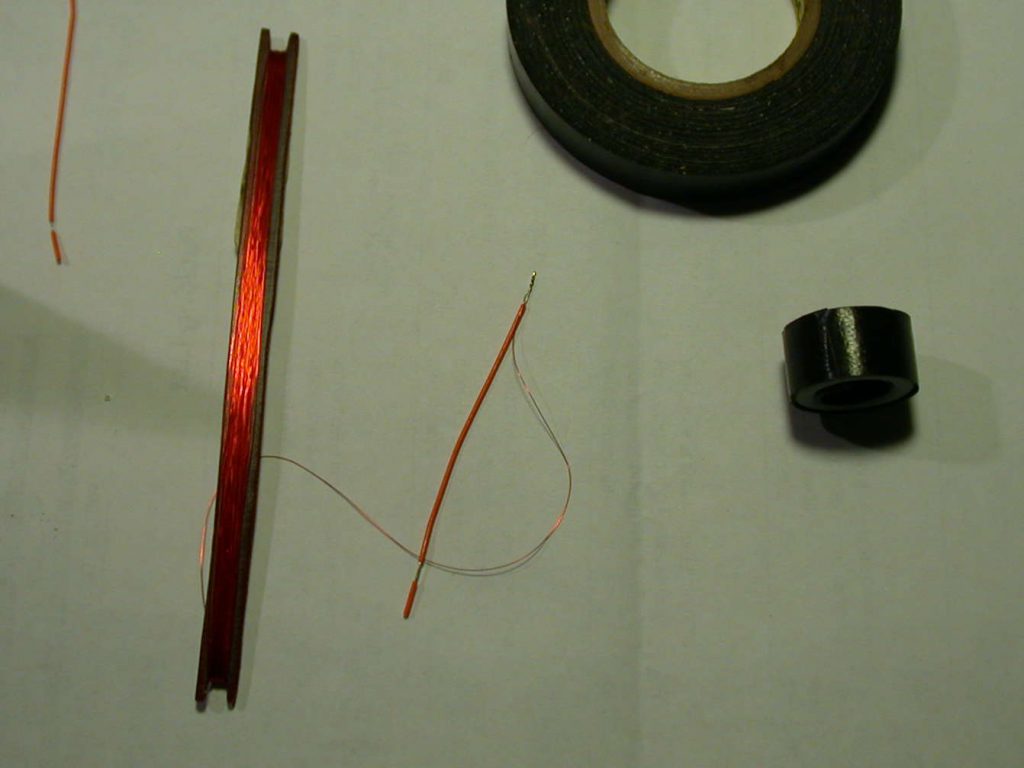
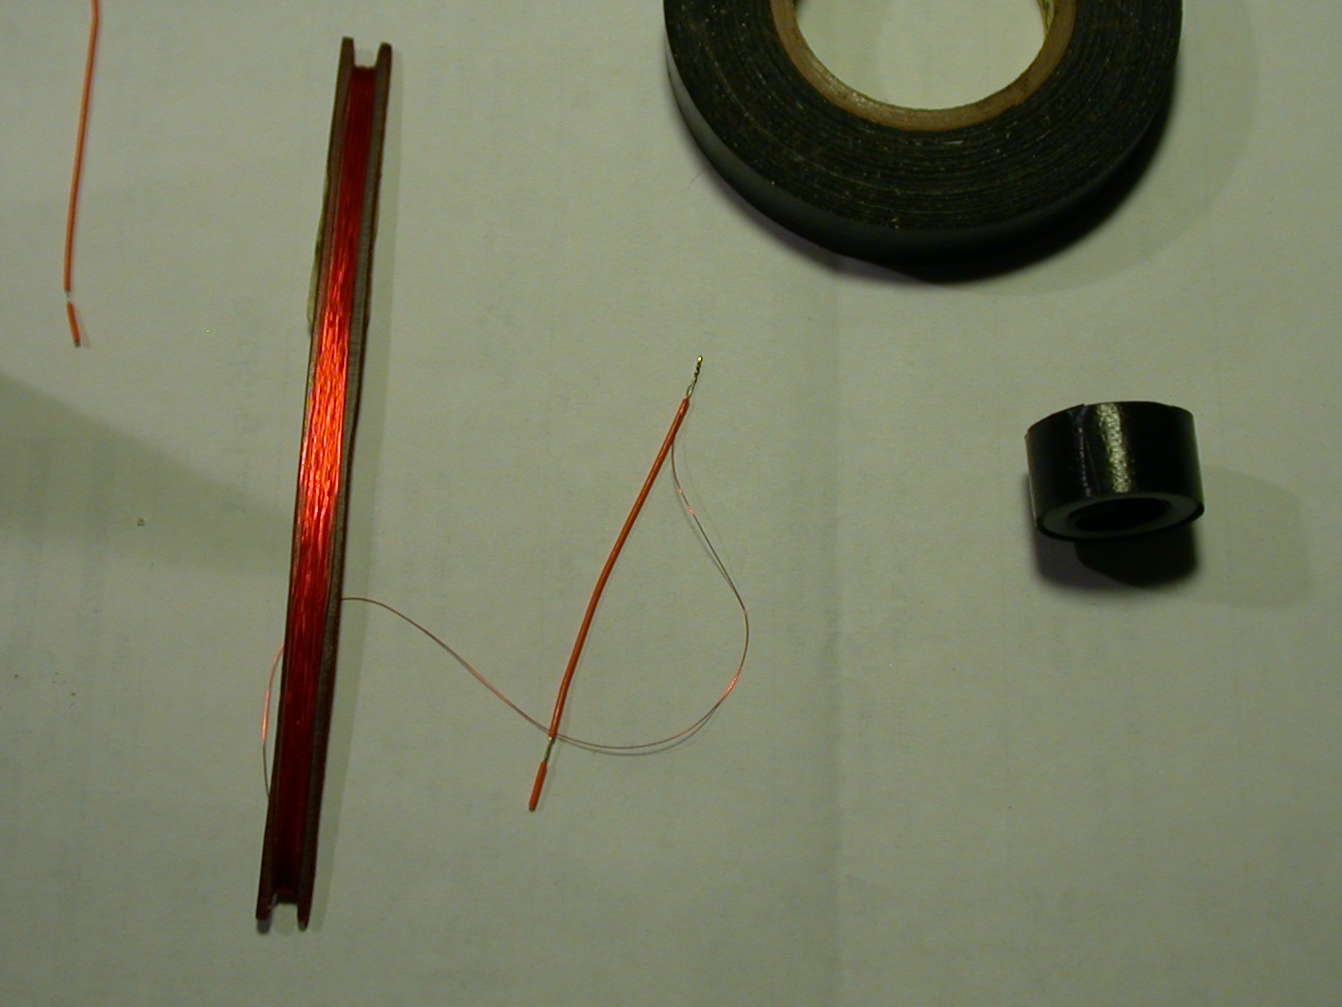
- Start with the toroidal core, 36 AWG magnet wire, suitable tape that is able a quarter inch wide, and a couple of wires for the leads. A supply of magnet wire is wound onto a narrow “shuttle” that can be passed through the toroid core. Be sure to wind enough wire onto the shuttle for the number of turns through the core you’ll need to reach desired inductance value.
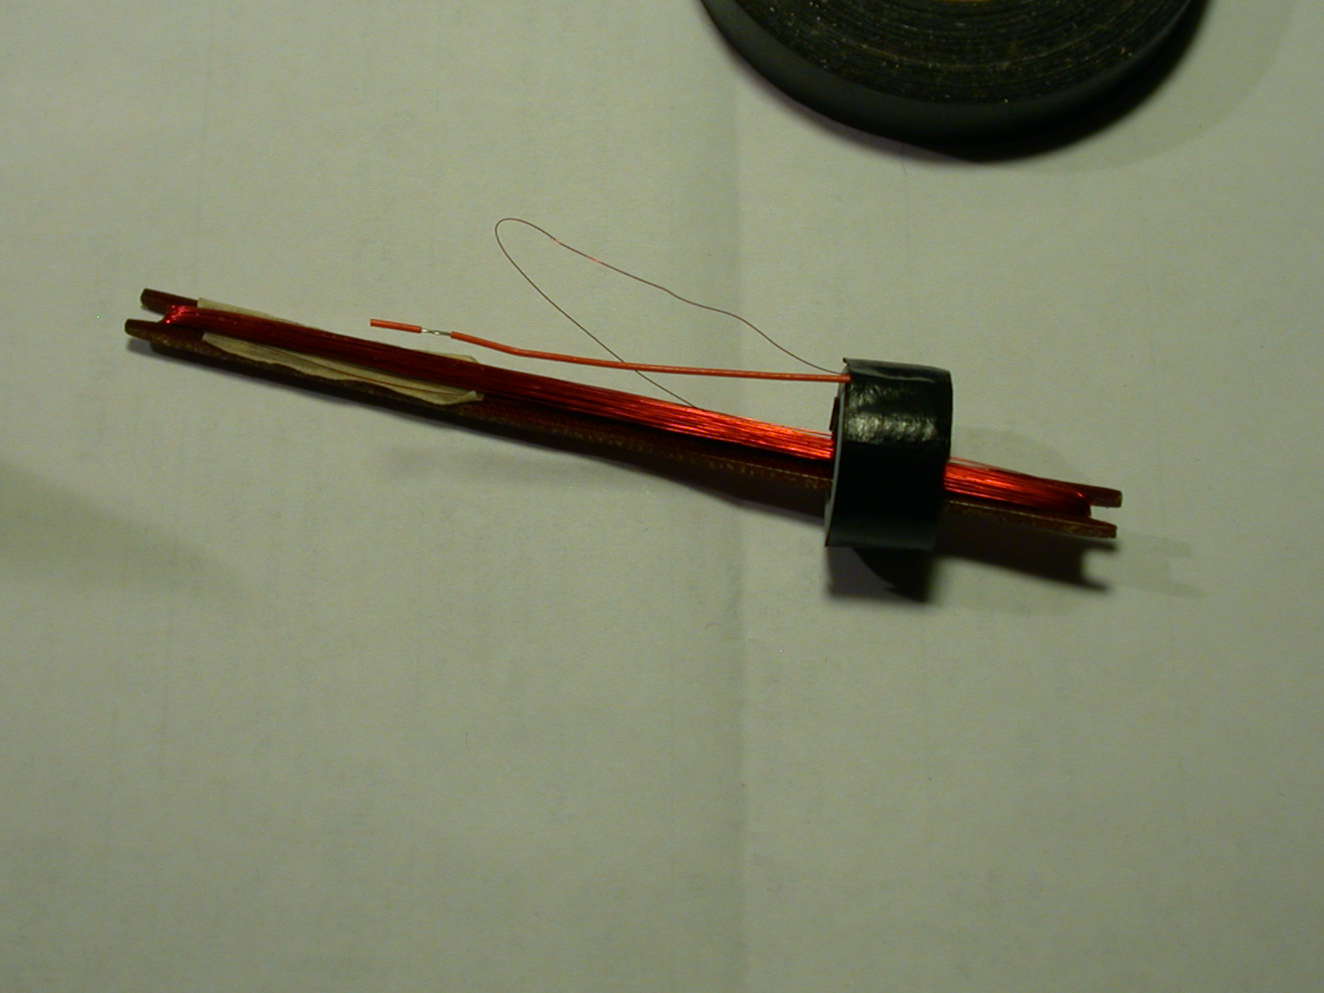
- Wrap a layer of tape around the core to avoid abrasion of the magnet wire. Then solder the first lead onto the end of the magnet wire.
- Tape the solder joint of the first lead to side of core and start winding by passing the wire supply “shuttle” through the toroid core.

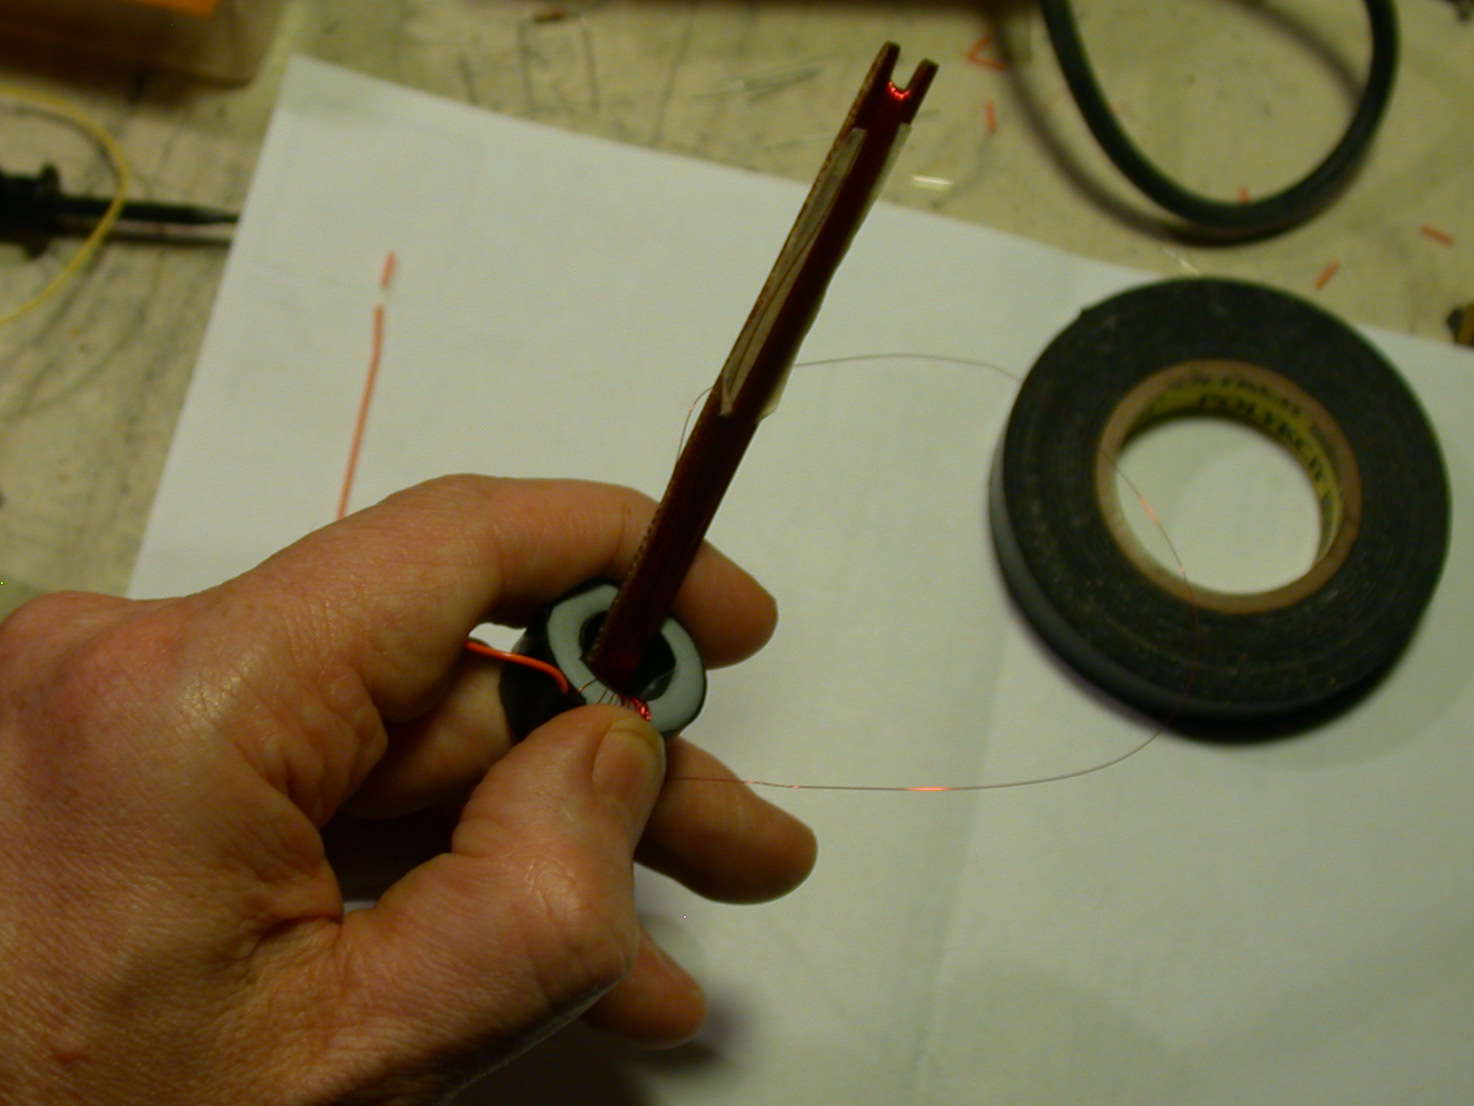
- This how I hold the toroid while winding it, weaving the the wire supply through the toroid for each turn needed.

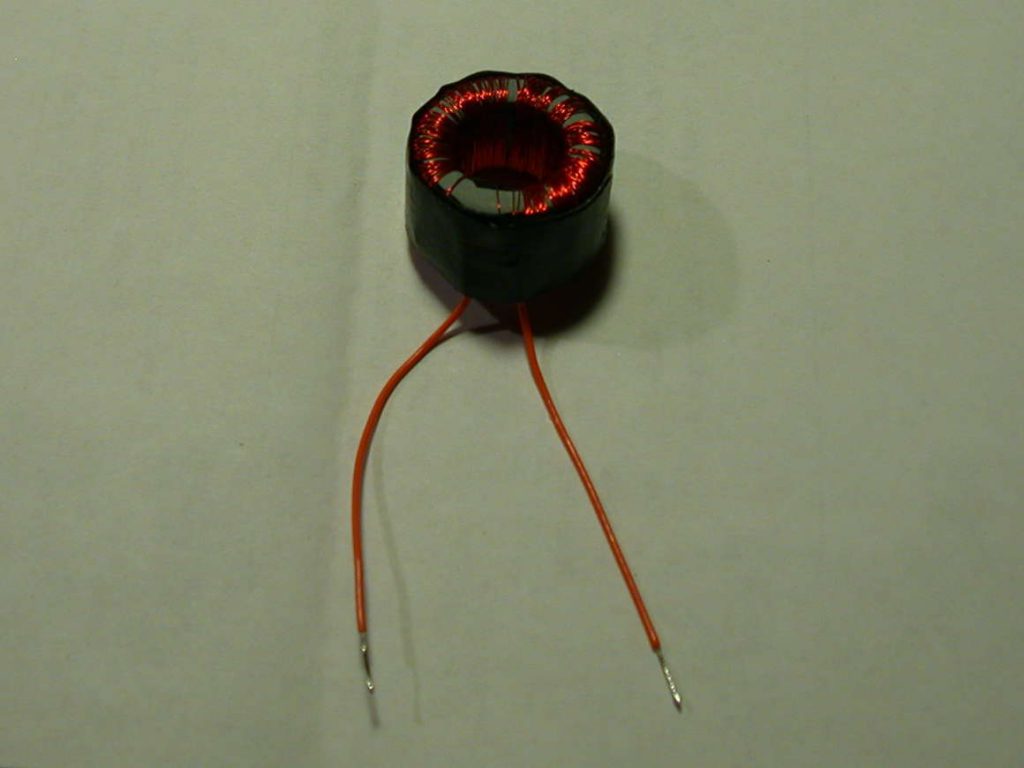
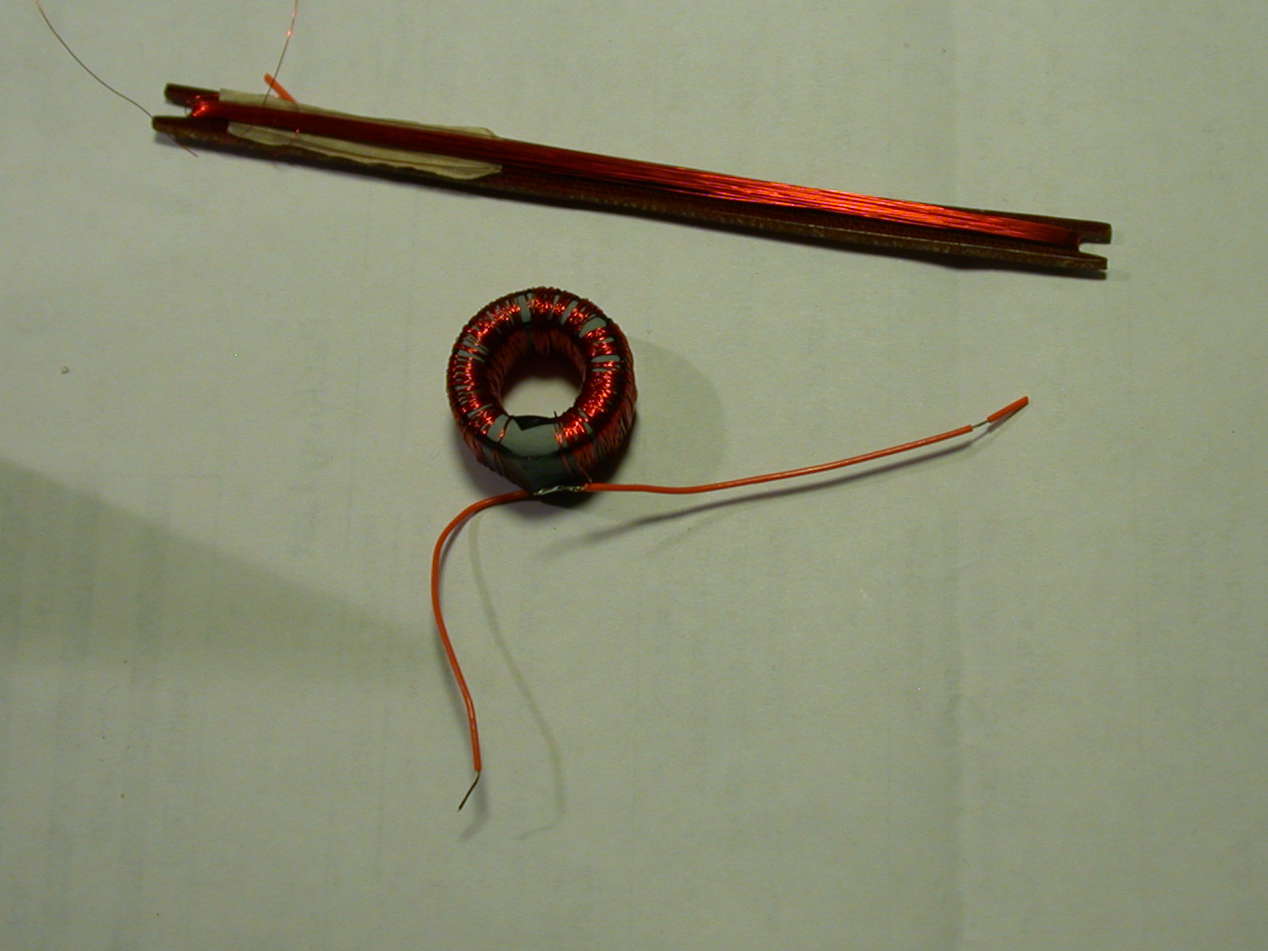
- When the winding is done, snip off the “shuttle” supply leaving a couple of inches of magnet wire coming from the core. Solder the remaining lead to the end of that magnet wire.
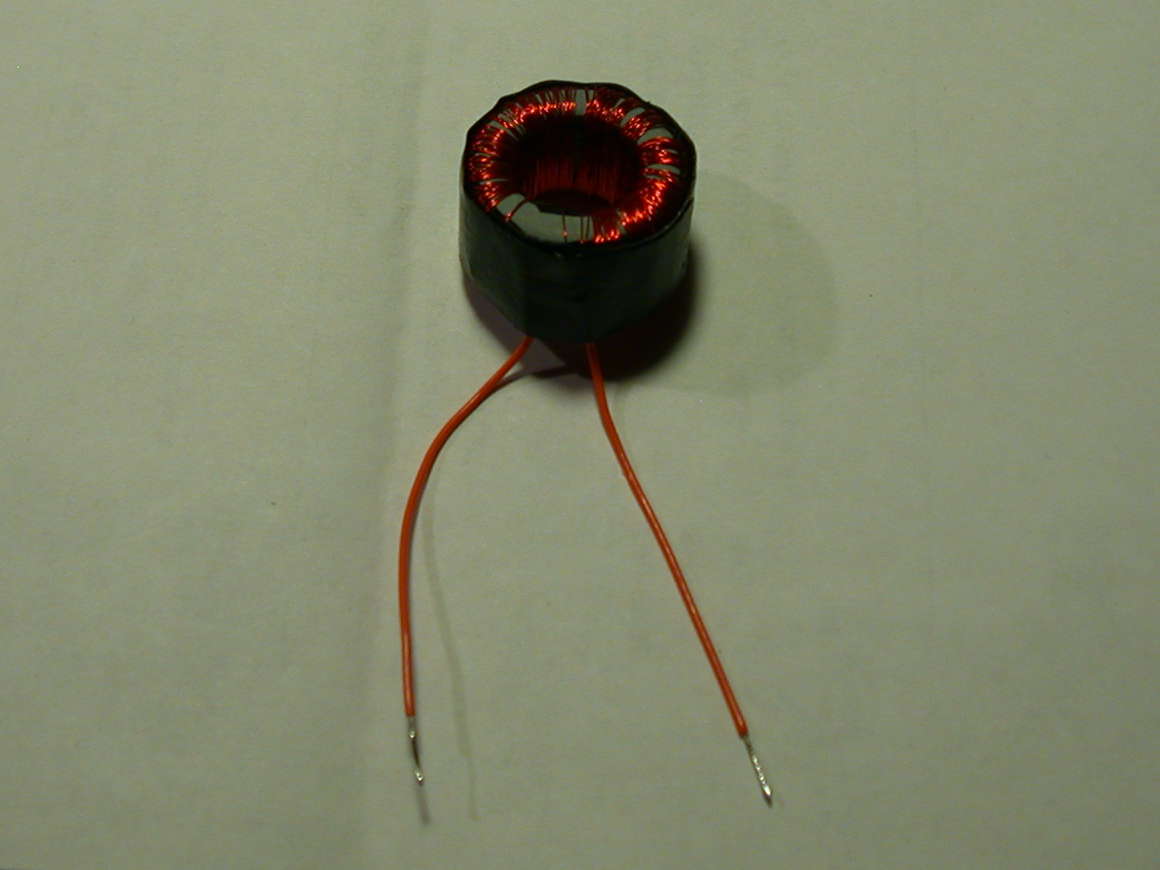
- Tape lead connection down and wrap toroid again with a length of tape around outer circumference. This will help protect the delicate magnet wire from damage.
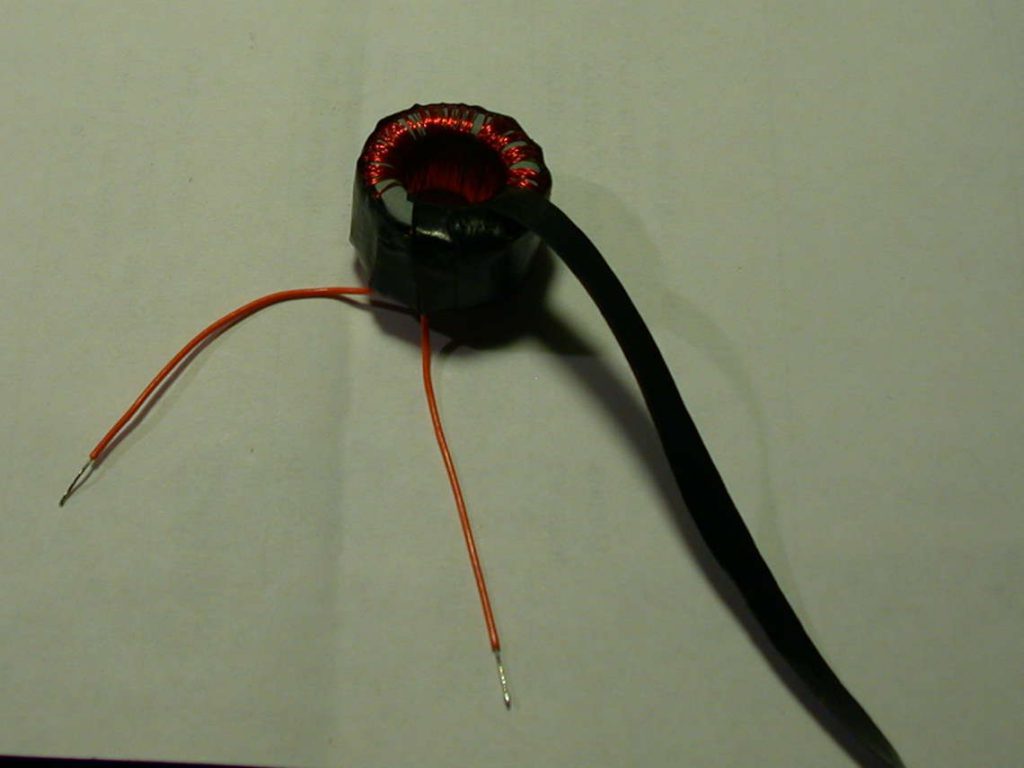
- Wind narrow strips of tape through the toroid around the winding.
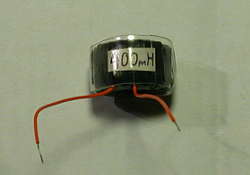
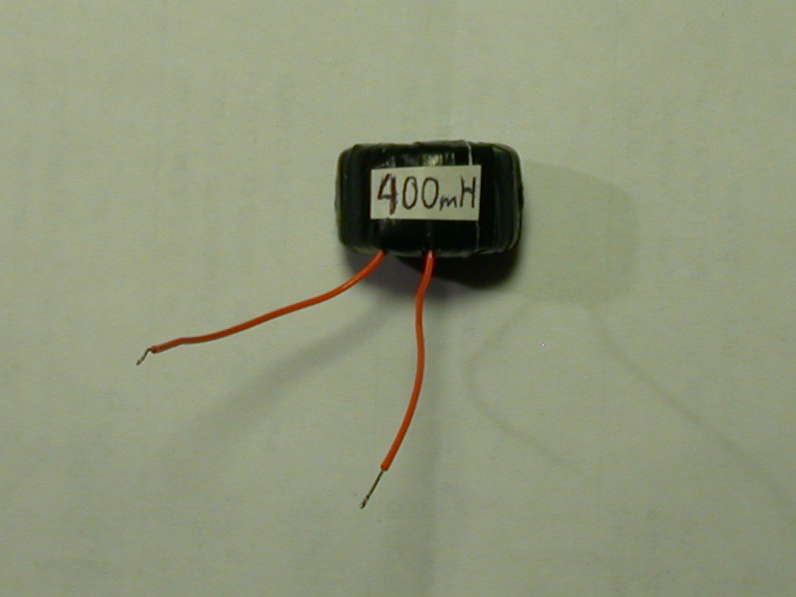
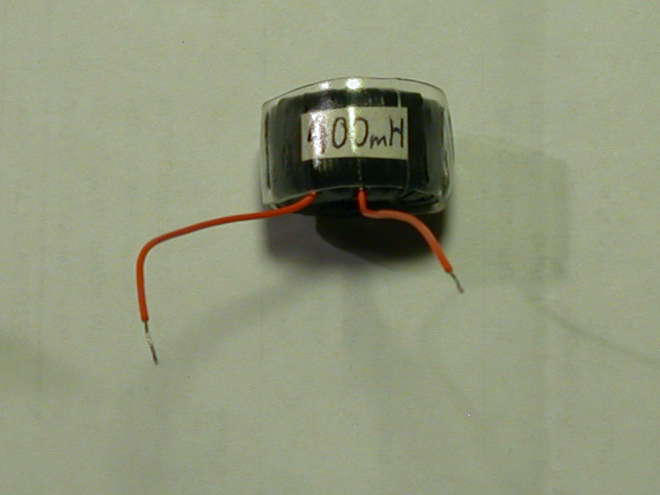
- The inductor is taped up and a label is affixed stating what value it is.

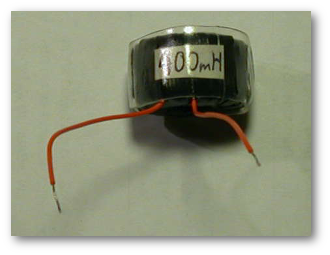
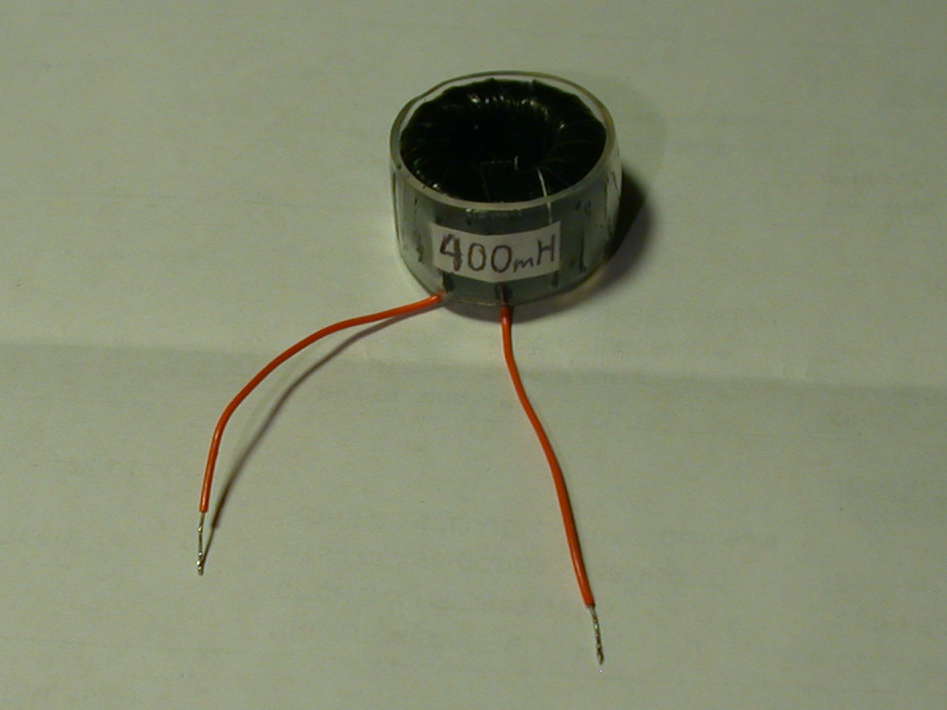
- The inductor is taped up and a label is affixed. Another view
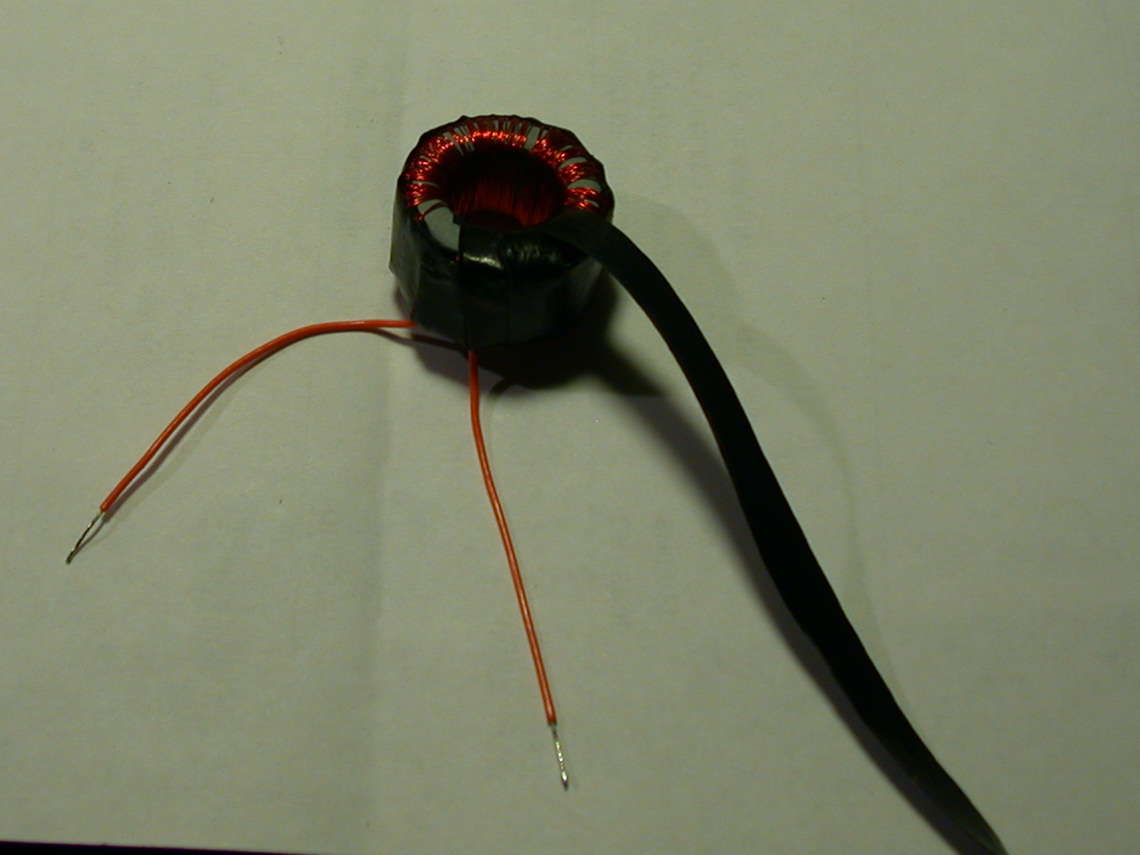
- Cover it with clear heat-shrink tubing. The length should be cut just a little taller than the inductor core.
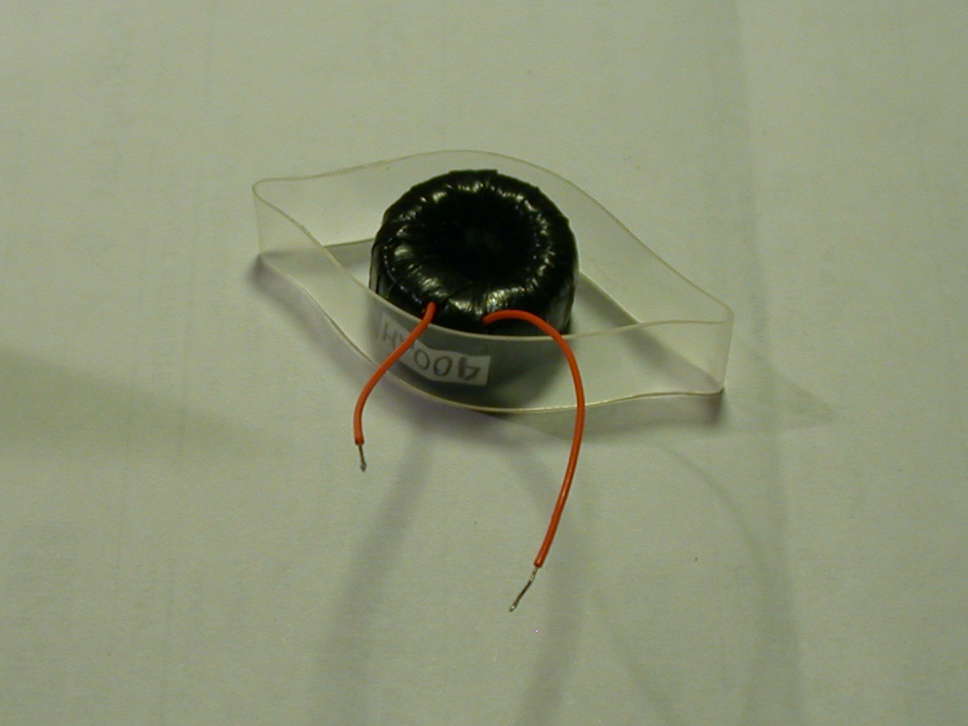
- Heat the tubing with a hot air blower until it shrinks to fit, working around it to get uniform shrinkage.
- You now have a finished product ready for use!
In lieu of the tape and heat-shrink tubing you can try dipping the finished inductor in conformal coating.
I hope you’ve enjoyed my little trick to winding my own inductors. This works equally great for transformer coils for small inverter projects as well. Comments and questions are always welcome!
Happy SynthDIY,


Please follow and like us:
If I would have had detailed tips like this back in the day I may have never given up tinkering!
There’s a lot I wished I’d known more about back in the day. If you’re determined enough, you’ll always find the resources and info you need to make it happen. Never give up tinkering! 🙂
How do you know how many times to wind the wire?